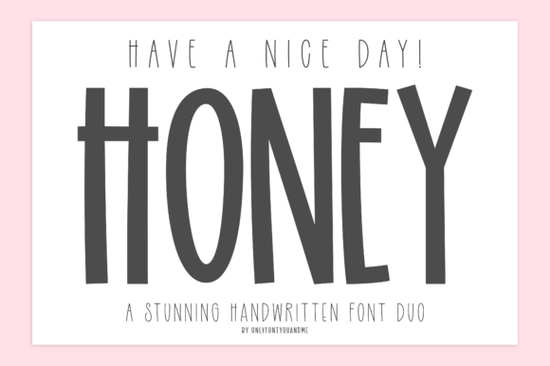
Finding the right typography for a cheerful project can be tricky, especially when you need a balance between bold personality and subtle details. The Have a Nice Day Honey Font solves this by offering a two-in-one handwritten duo. It pairs a tall, playful display type with a light, narrow companion script. This combination gives crafters, print-on-demand sellers, and small business owners a versatile tool for creating warm, welcoming, and handcrafted designs without needing to hunt for matching typefaces.
What makes this font duo work for handmade products?
The secret to good handwritten design is contrast. The main "Honey" typeface features quirky proportions, rounded edges, and an organic feel that immediately grabs attention. It is bold enough to serve as the focal point on a canvas tote bag or a ceramic mug. Meanwhile, the secondary "Have A Nice Day!" script provides a delicate, airy touch. This narrow companion is perfect for supporting text, like a small subtitle or a signature line at the bottom of a print.
Having both a heavy and light option in the same family saves time. If you ever need something with even more visual weight for a massive banner, you might explore a thicker, more robust typeface for your main headlines. But for everyday merchandise and boutique branding, this organic pair strikes the right balance.
How can print-on-demand sellers use these letterforms?
Print-on-demand relies on quick, readable typography. The tall structure makes it highly legible from a distance, essential for apparel like t-shirts. You can use it for short, punchy phrases or single-word statements. The rounded edges keep the mood friendly and approachable, avoiding the harshness of standard geometric sans-serifs.
For sellers focusing on retro apparel, a retro-inspired lettering style might be a better fit. However, if your shop focuses on upbeat, modern, and positive messaging, this handwritten duo is highly effective. It feels personal and authentic, which helps your products stand out in a crowded marketplace.
Which projects benefit most from the secondary script?
The narrow font is useful for projects where space is limited or a softer tone is required. It works beautifully for:
- Greeting cards: Use it for the inside message or a small note on the front cover.
- Social media graphics: It fits well in text boxes without overwhelming the background image.
- Packaging stickers: Perfect for adding a hand-packed note on shipping boxes or mailers.
- Wedding stationery: Adds a casual, relaxed vibe to informal invitations or menu cards.
Designers wanting a highly playful look might prefer a bubbly, youth-oriented typeface. The secondary script here, however, remains elegant and refined enough for adult audiences and professional stationery.
Can I mix this with other display styles?
Mixing font families is standard practice, and this duo plays well with others. Because the main font has such a distinct, hand-drawn personality, it pairs nicely with very structured, rigid typefaces to create visual tension. For example, if you are designing a poster for a country music festival, you could contrast it with a bold, slab-style western typeface for a quirky, eclectic layout.
If you are just building your initial font library and want to see more options in this exact style, browsing through similar cheerful handwritten display options can give you plenty of ideas for future projects. Having a few reliable handwritten families on hand ensures you are always ready for a new custom order.
How do I install and test these files?
Before you start designing, make sure you extract the downloaded files and install both the main and secondary font files on your operating system. Open your design software and type out a few test phrases to check the kerning and spacing. Since handwritten fonts often include alternate characters or ligatures, check the glyph panel to see if there are any special swashes you can use to customize your text.
Quick setup checklist for your next design:
- Install both the bold display and narrow script files on your computer.
- Open your design tool and create a new canvas with your final print dimensions.
- Type your main headline using the bold font and adjust the tracking if needed.
- Add your subtext using the secondary script, ensuring it is roughly 30% to 40% the size of the headline.
- Check the glyph panel for any alternate characters that might improve the flow of your specific words.
- Export a test print to verify that the thin strokes of the secondary script remain crisp and readable on paper.
 Awesome Everybody Font: Creative Uses & Free Downloads
 Preppy Font: Style Tips for Creative Designs
 Creative Projects with Varsity Narrow Font
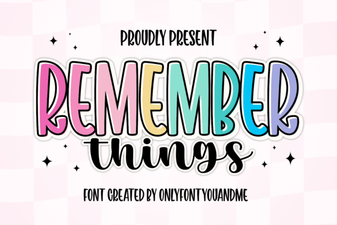 Harness the Remember Things Font for Better Design
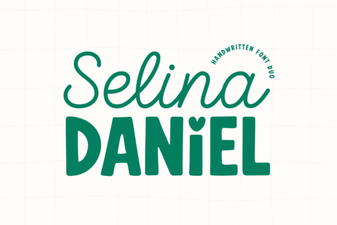 Selina Daniel Duo Font for Creative Projects
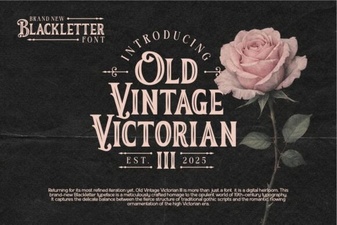 Victorian Era Fonts for Elegant Design Projects