
Finding the right distressed typeface for a retro project can be tricky. You want something that looks authentically worn without sacrificing readability. The Modern Vintage Font solves this problem by pairing tall, condensed letterforms with a rugged, handcrafted texture. It gives your design an immediate raw and retro-inspired feel, making it highly practical for print-on-demand sellers and small business owners who need bold display text that actually stands out on a shelf or a screen.
What projects work best with a distressed display typeface?
When you are working with heavily textured letters, scale and context matter. This specific typeface shines in applications where you need a strong visual impact from a distance. Think about urban streetwear graphics, rustic product packaging, or vintage-style concert posters. The condensed shape of the letters means you can fit longer words into tight spaces without losing that bold presence.
If you are designing merchandise, this style pairs beautifully with simple illustrations or minimalist layouts. For instance, if you want to mix styles on an apparel mockup, you might use this for the main headline and pair it with a cleaner script or a playful option like this bubbly skeleton style for subtext to create visual contrast. It also works well when you need a rugged look but want to avoid the overly aggressive feel of something like heavy western block letters.
How do you keep grunge text readable?
The biggest mistake designers make with worn textures is using them at the wrong size or against busy backgrounds. Because the distressed details break up the edges of the letters, you need to give the text room to breathe.
- Stick to large sizes: Use it for main headlines, logos, or large poster text. Avoid using it for body copy or small captions, as the broken edges will turn into visual noise.
- Use high contrast: Place the text on solid, muted backgrounds. A dark charcoal text on a cream or off-white background enhances the vintage feel while keeping the letters crisp.
- Limit your color palette: Let the texture do the heavy lifting. Stick to two or three colors to maintain that authentic, retro print aesthetic.
If you find that the grunge effect is too heavy for a specific layout, you can always alternate it with a cleaner, more traditional display option. For example, swapping to a neat and tidy preppy alternative for secondary headings can help balance the overall composition.
Which file formats and software do you need?
Most fonts in this category come in standard OTF and TTF formats, which install easily on both Windows and Mac systems. Once installed, you can access the characters in almost any design software, including Adobe Illustrator, Photoshop, Canva, and Cricut Design Space.
For crafters using cutting machines, it is usually best to convert your text to outlines or paths before sending it to the cutter. This ensures the distressed edges cut cleanly without the machine trying to trace every tiny internal speck of the grunge texture. If you are working on a sports-themed craft project instead, you might want to look at a classic collegiate lettering style to see if it fits your material better.
How does it compare to other retro styles?
While there are many retro options available, this specific grunge font leans heavily into the raw, industrial, and handcrafted side of vintage design. It does not have the smooth, polished curves of mid-century modern typography. Instead, it feels like an old stamped sign or a worn-out concert ticket.
If your project requires a friendlier, more approachable retro vibe, you might want to explore a casual and friendly retro display option instead. But if your goal is to create something that looks authentically aged, slightly edgy, and highly textured, this condensed grunge typeface is a highly reliable choice for your toolkit.
Quick checklist for your next vintage design
Before you finalize your layout and send it to print, run through this quick checklist to ensure your distressed text looks its best:
- Check the text size to ensure the grunge details are clearly visible and not pixelated.
- Verify the background contrast so the worn edges do not blend into the artwork.
- Proofread your spelling carefully, as editing textured text after it has been expanded or outlined can be tedious.
- Test a small physical print or a single cut on your crafting machine to see how the distressed edges handle in real life.
Take a few minutes to test the font in your current project mockup and see how the texture interacts with your brand colors.
Try It Free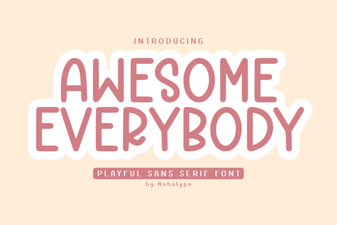 Awesome Everybody Font: Creative Uses & Free Downloads
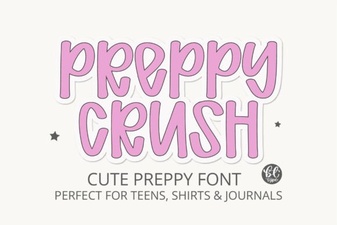 Preppy Font: Style Tips for Creative Designs
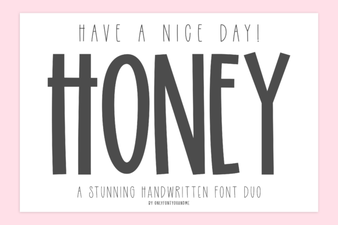 Free & Downloadable Have a Nice Day Honey Font
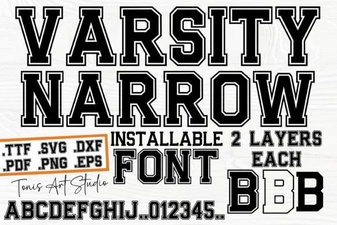 Creative Projects with Varsity Narrow Font
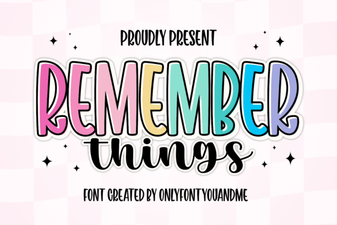 Harness the Remember Things Font for Better Design
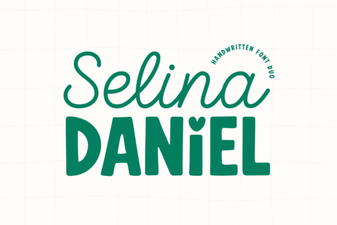 Selina Daniel Duo Font for Creative Projects