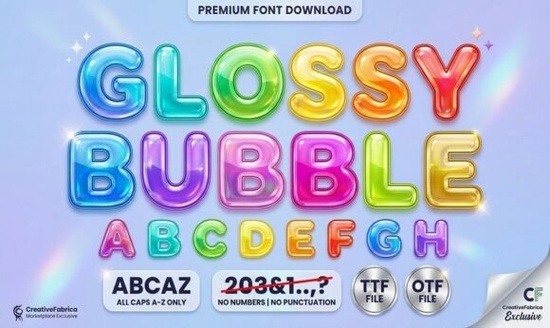
Finding the right typography for children's apparel or playful sticker sheets can be tricky. You need something legible but full of personality. The Glossy Bubble Font solves this by combining plump, rounded letters with built-in highlight marks. This creates a shiny, three-dimensional balloon effect without requiring you to manually draw shadows or reflections in your vector software. It is an excellent choice for crafters and print-on-demand sellers who want to speed up their workflow while keeping designs cheerful and hand-drawn.
What makes a 3D balloon font work for kids' designs?
Children's merchandise relies heavily on bright, engaging visuals. When you use a typeface with thick outlines and pre-drawn shine marks, it immediately grabs attention. The built-in highlights mimic the way light reflects off a real inflated balloon or a glossy sticker. For small businesses making party invitations or nursery wall art, this saves hours of manual detailing. Instead of adding custom gradients to every single letter, the shading is already baked into the glyphs. This keeps your file sizes small and your cutting machine paths clean.
How do you pair playful display fonts with other styles?
Mixing typography is essential for creating balanced layouts. If every element in your design is overly decorative, the final product can look cluttered. When working with highly stylized lettering, it helps to contrast it with simpler or entirely different aesthetic styles. For example, you might use the bubbly text for the main headline and pair it with a clean sans-serif for the subtext.
If you want to lean into a retro aesthetic, you can mix playful elements with an ornate Victorian style typeface for a quirky, eclectic look. Alternatively, blending it with a mid-century retro typeface can give your design a nostalgic, 1970s bubble-letter vibe that is very popular in current streetwear.
For maximum impact on t-shirts, some designers prefer to combine it with a heavy, blocky lettering style to create a strong visual hierarchy. You can also soften the overall layout by adding a delicate handwritten script style for secondary details like dates or names. If the project requires a more uplifting, casual tone, incorporating a cheerful, rounded sans-serif for the body copy ensures the text remains easy to read.
Which projects get the best results with bubbly lettering?
Not every typeface fits every medium. Because this specific style has a very distinct, informal personality, it performs best in specific niches.
- Die-cut stickers: The thick outlines make it incredibly easy to set up offset borders in your cutting software.
- Kids' apparel: The 3D effect looks fantastic when printed using direct-to-garment or puff print techniques.
- Party supplies: Birthday banners, cupcake toppers, and favor bags benefit from the fun, celebratory feel.
- Coloring books: If you remove the internal highlights, the thick outer strokes make perfect outlines for children to color in.
What should you check before printing or cutting?
Before sending your final design to production, run through a few technical checks to ensure the lettering holds up physically. Display typefaces often have unique kerning or overlapping paths that can cause issues with automated manufacturing tools.
First, convert your text to outlines or paths. This prevents the file from substituting the letters if the printer or cutting machine does not have the file installed.
Second, check the internal highlight marks. If you are using a vinyl cutter, ensure those tiny shine marks are not too small to weed properly. You might need to scale up the text or simplify the inner paths.
Finally, review the spacing. Hand-drawn styles sometimes have uneven gaps between characters. Adjust the tracking manually so the words read smoothly from a distance.
What are the best next steps for your design software?
Follow this quick checklist to prepare your files for production:
- Type your word and adjust the kerning manually for even spacing.
- Convert the text to paths using the Create Outlines or Convert to Curves command.
- Use the offset path tool to create a thick, uniform border around the entire word.
- Group the main letters, the highlight marks, and the new offset border into a single compound path for easy coloring.
- Test cut a small section on scrap vinyl to ensure the inner shine marks are large enough to weed cleanly.
 Awesome Everybody Font: Creative Uses & Free Downloads
 Preppy Font: Style Tips for Creative Designs
 Free & Downloadable Have a Nice Day Honey Font
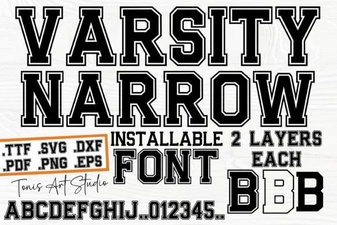 Creative Projects with Varsity Narrow Font
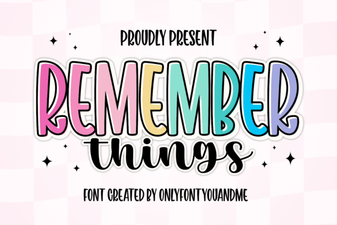 Harness the Remember Things Font for Better Design
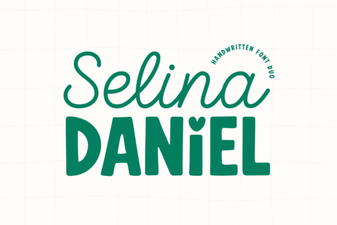 Selina Daniel Duo Font for Creative Projects